3 Ocean themed crafts for kids
For some parents, one of the more tiresome things about parenting can be thinking of new ways to entertain our little ones. It can be hard work to think of new, creative, fun activities ourselves, especially when the busyness of life can get in the way. So, here are three, fun crafts that I have already tried and tested, with step by step instructions to give your brain a break.
First up we have a low cost and easy pirate ship.
Equipment/ supplies:
Egg carton of preferred size (I have used a dozen eggs carton to get three ships from)
coloured/ patterned paper
stickers, pompoms or preferred bits for decorating
long skewer
glue
scissors
cotton wool
pens/ pencil
Step 1 - Get your egg carton, open it and cut away the lid, leaving the base intact.
Step 2 - If you want a bigger ship you don’t need to do this step, but if you want to do smaller ships, like the one pictured, you now need to cut the base to your desired size.
Step 3 - Take the skewer and pierce a hole through the middle cone.
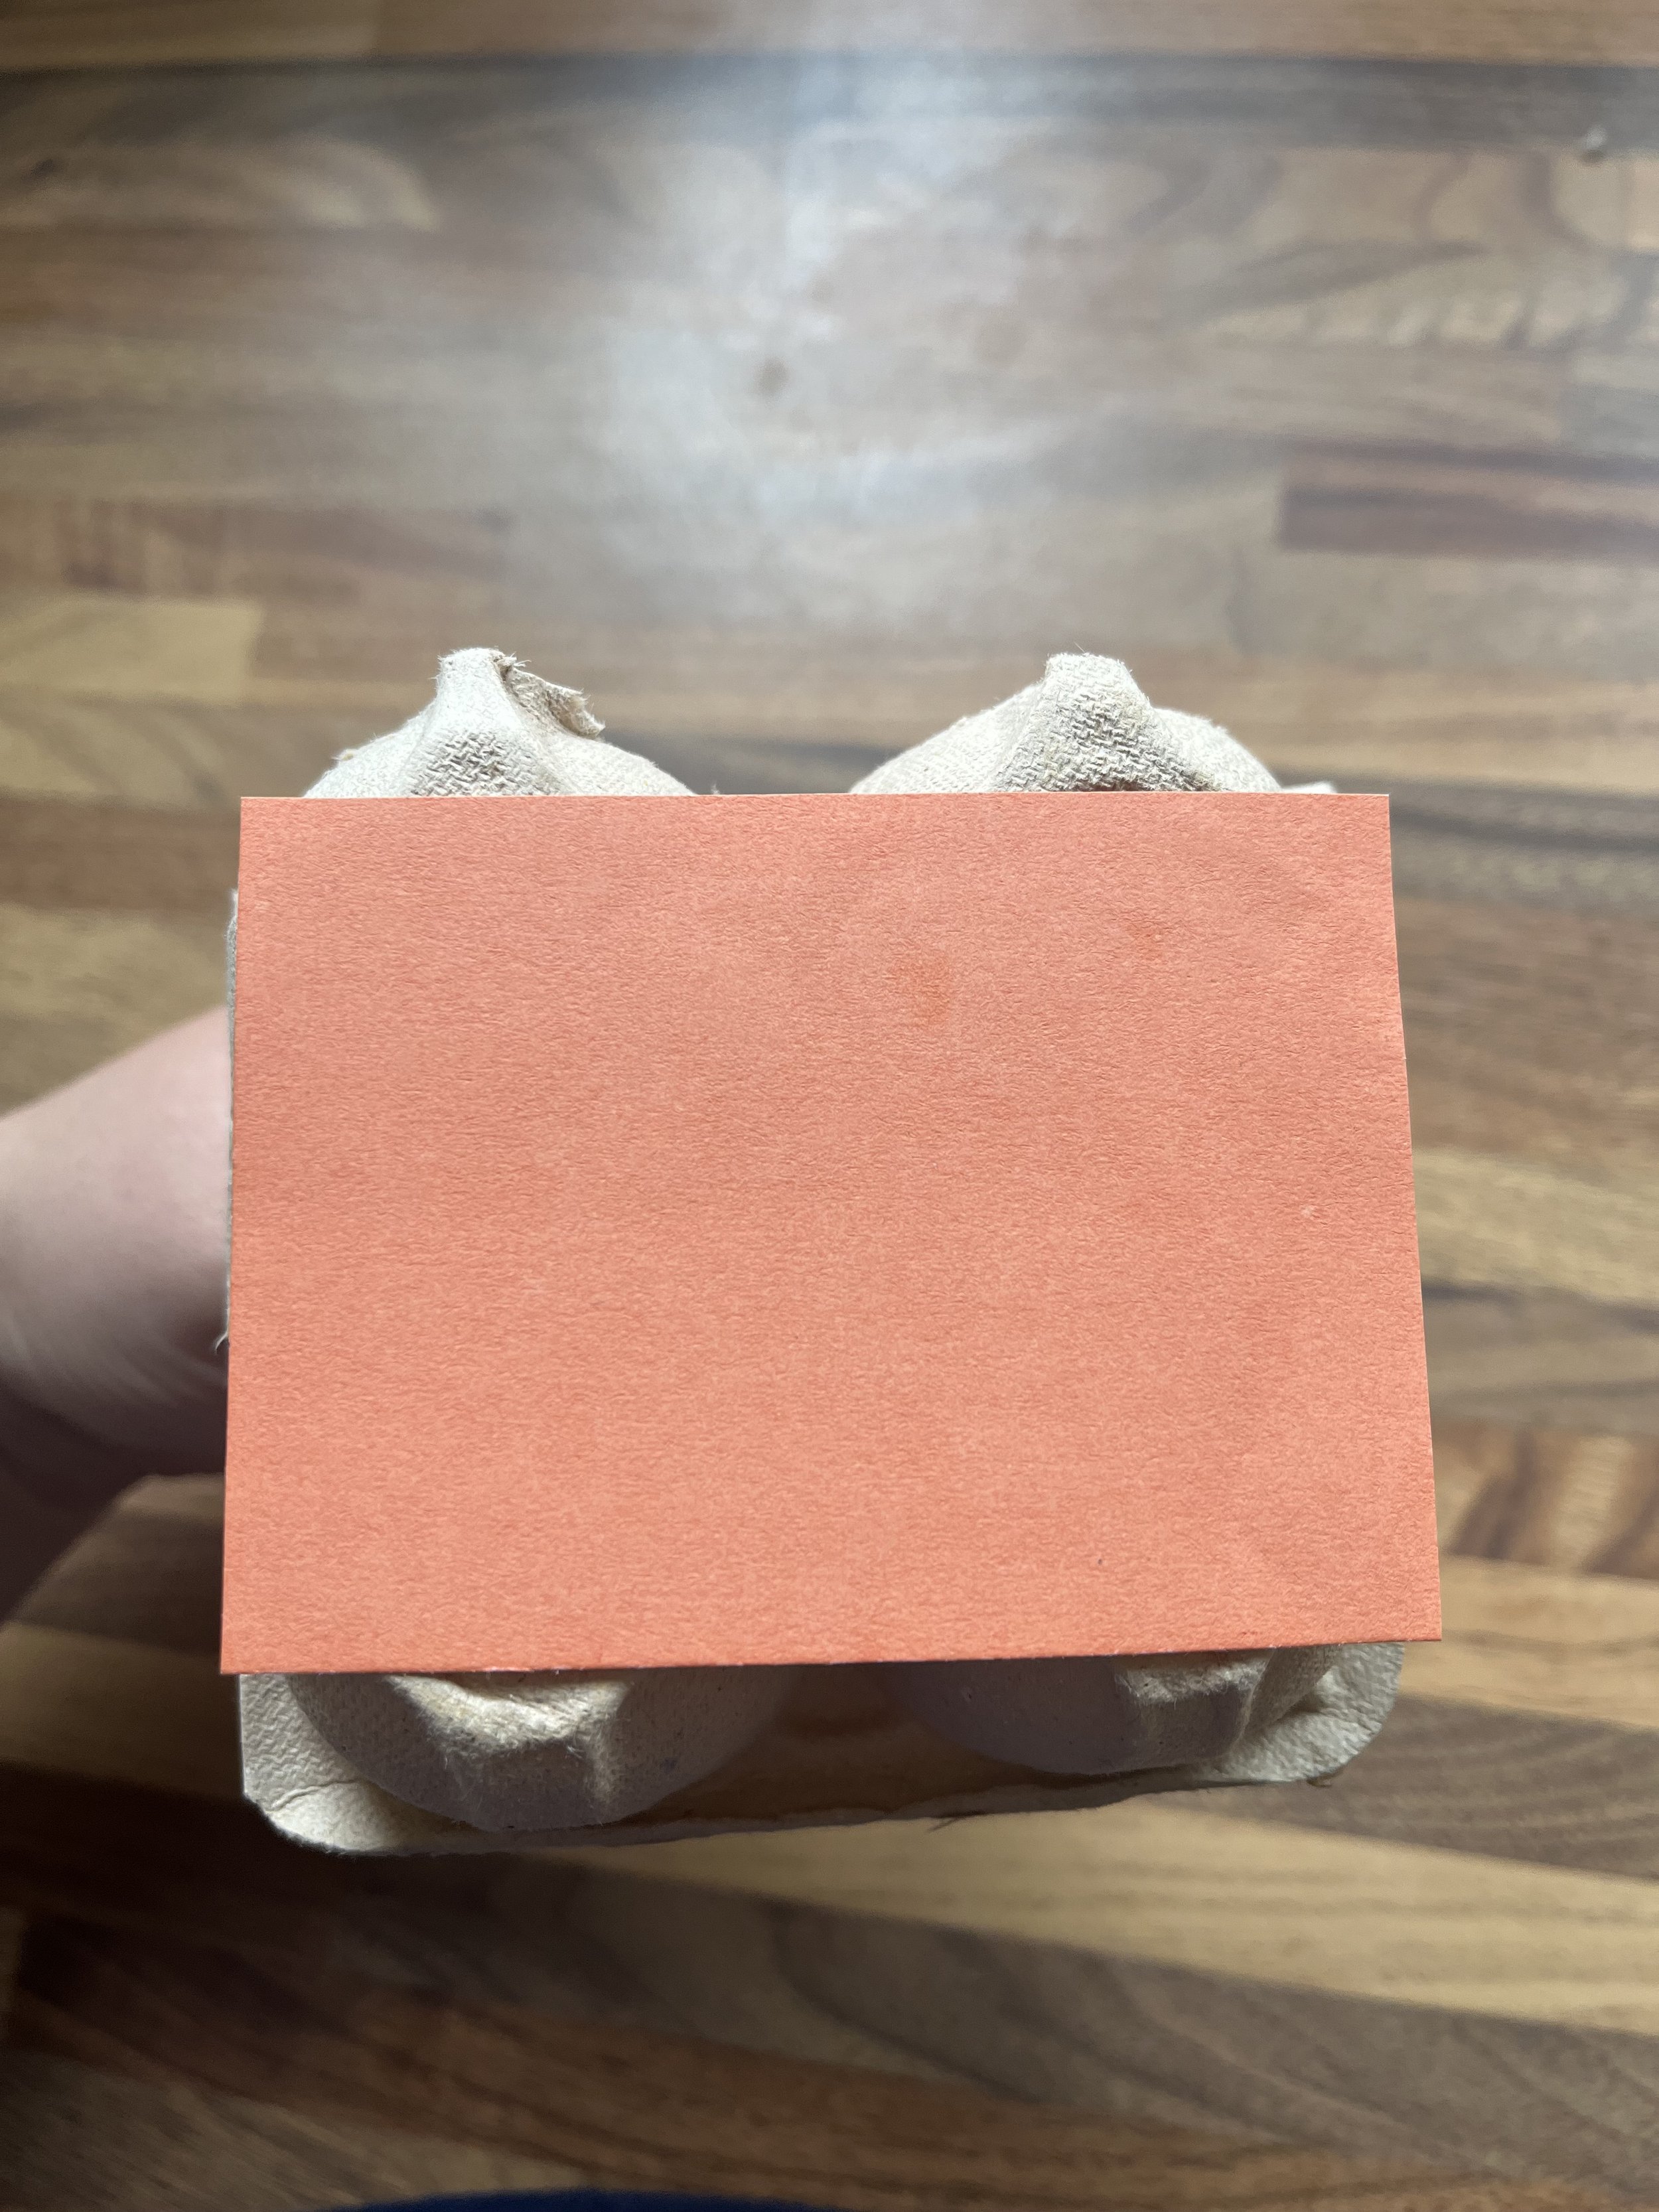
Step 4 - Take your card and measure the bottom of the ship where the stick comes out. Then cut a piece of card the size of the gap and glue over it. This stops the stick from coming out the bottom and moving around as much.
Step 5 - To make the sails, choose your paper and cut down to desired size. You can choose to do as many sails as you like, in whatever size you want. For my sails, i chose two. once you have cut the paper to size, you will need to pierce the top middle and bottom middle of the paper with the stick and slide the paper down as far as needed to then proceed with the next peice.
Step 6 - Now for the exciting bit, it’s time to decorate. You can add any type of decoration you fancy. I have gone with naming my ship on the sail, adding stickers, and using pompoms as passengers.
The second craft is bouncy octopi. This craft is nice and simple, but will require the purchasing of paper cups if you do not already have some available.
Equipment/ supplies:
Scissors
glue
paper cups
card
pens
googly eyes (not required but a fun extra)
Step 1 - Choose your coloured cups. You can do them all the same colour, or you can mix it up with two different colours. (If choosing two different colours, you also need to decide which colour will be top and which will be bottom.)
Step 2 - Take the cup for the bottom and cut about 1 inch strips, going roughly half way up the cup all around the entire lip. Then take each strip and cut them into whatever shape you want. I have gone for rounded ends. Then decorate the tentacles.
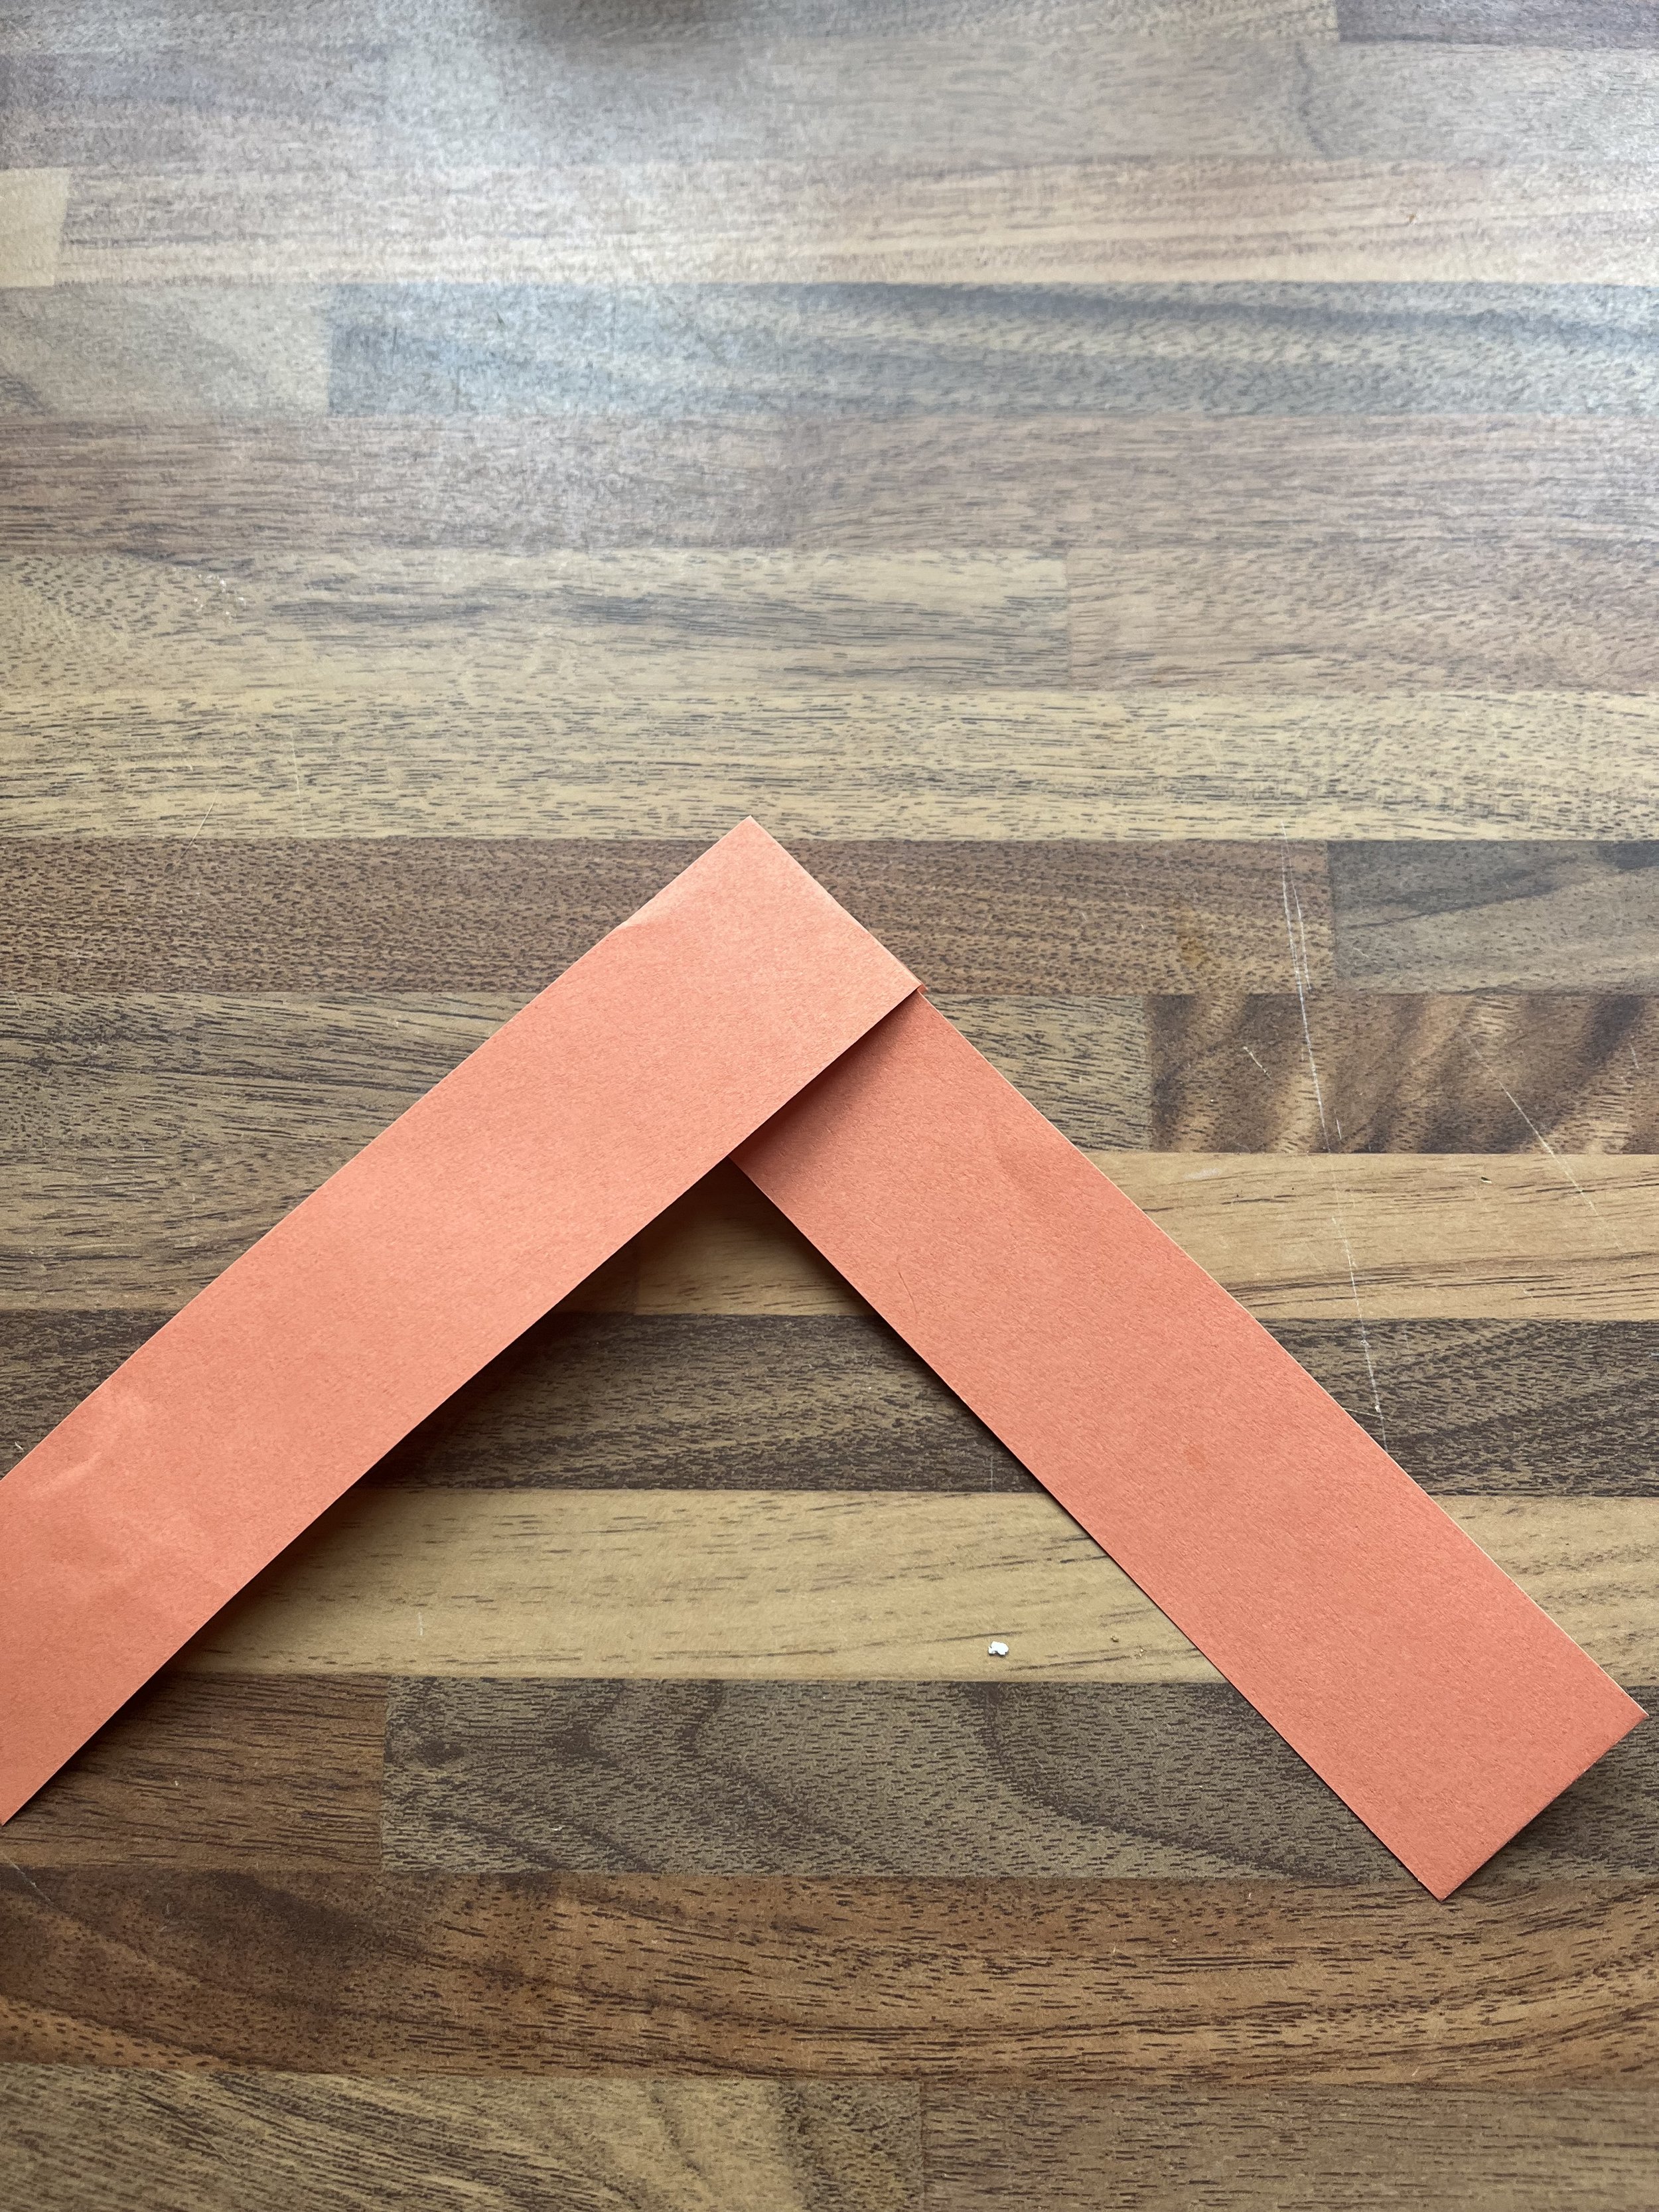
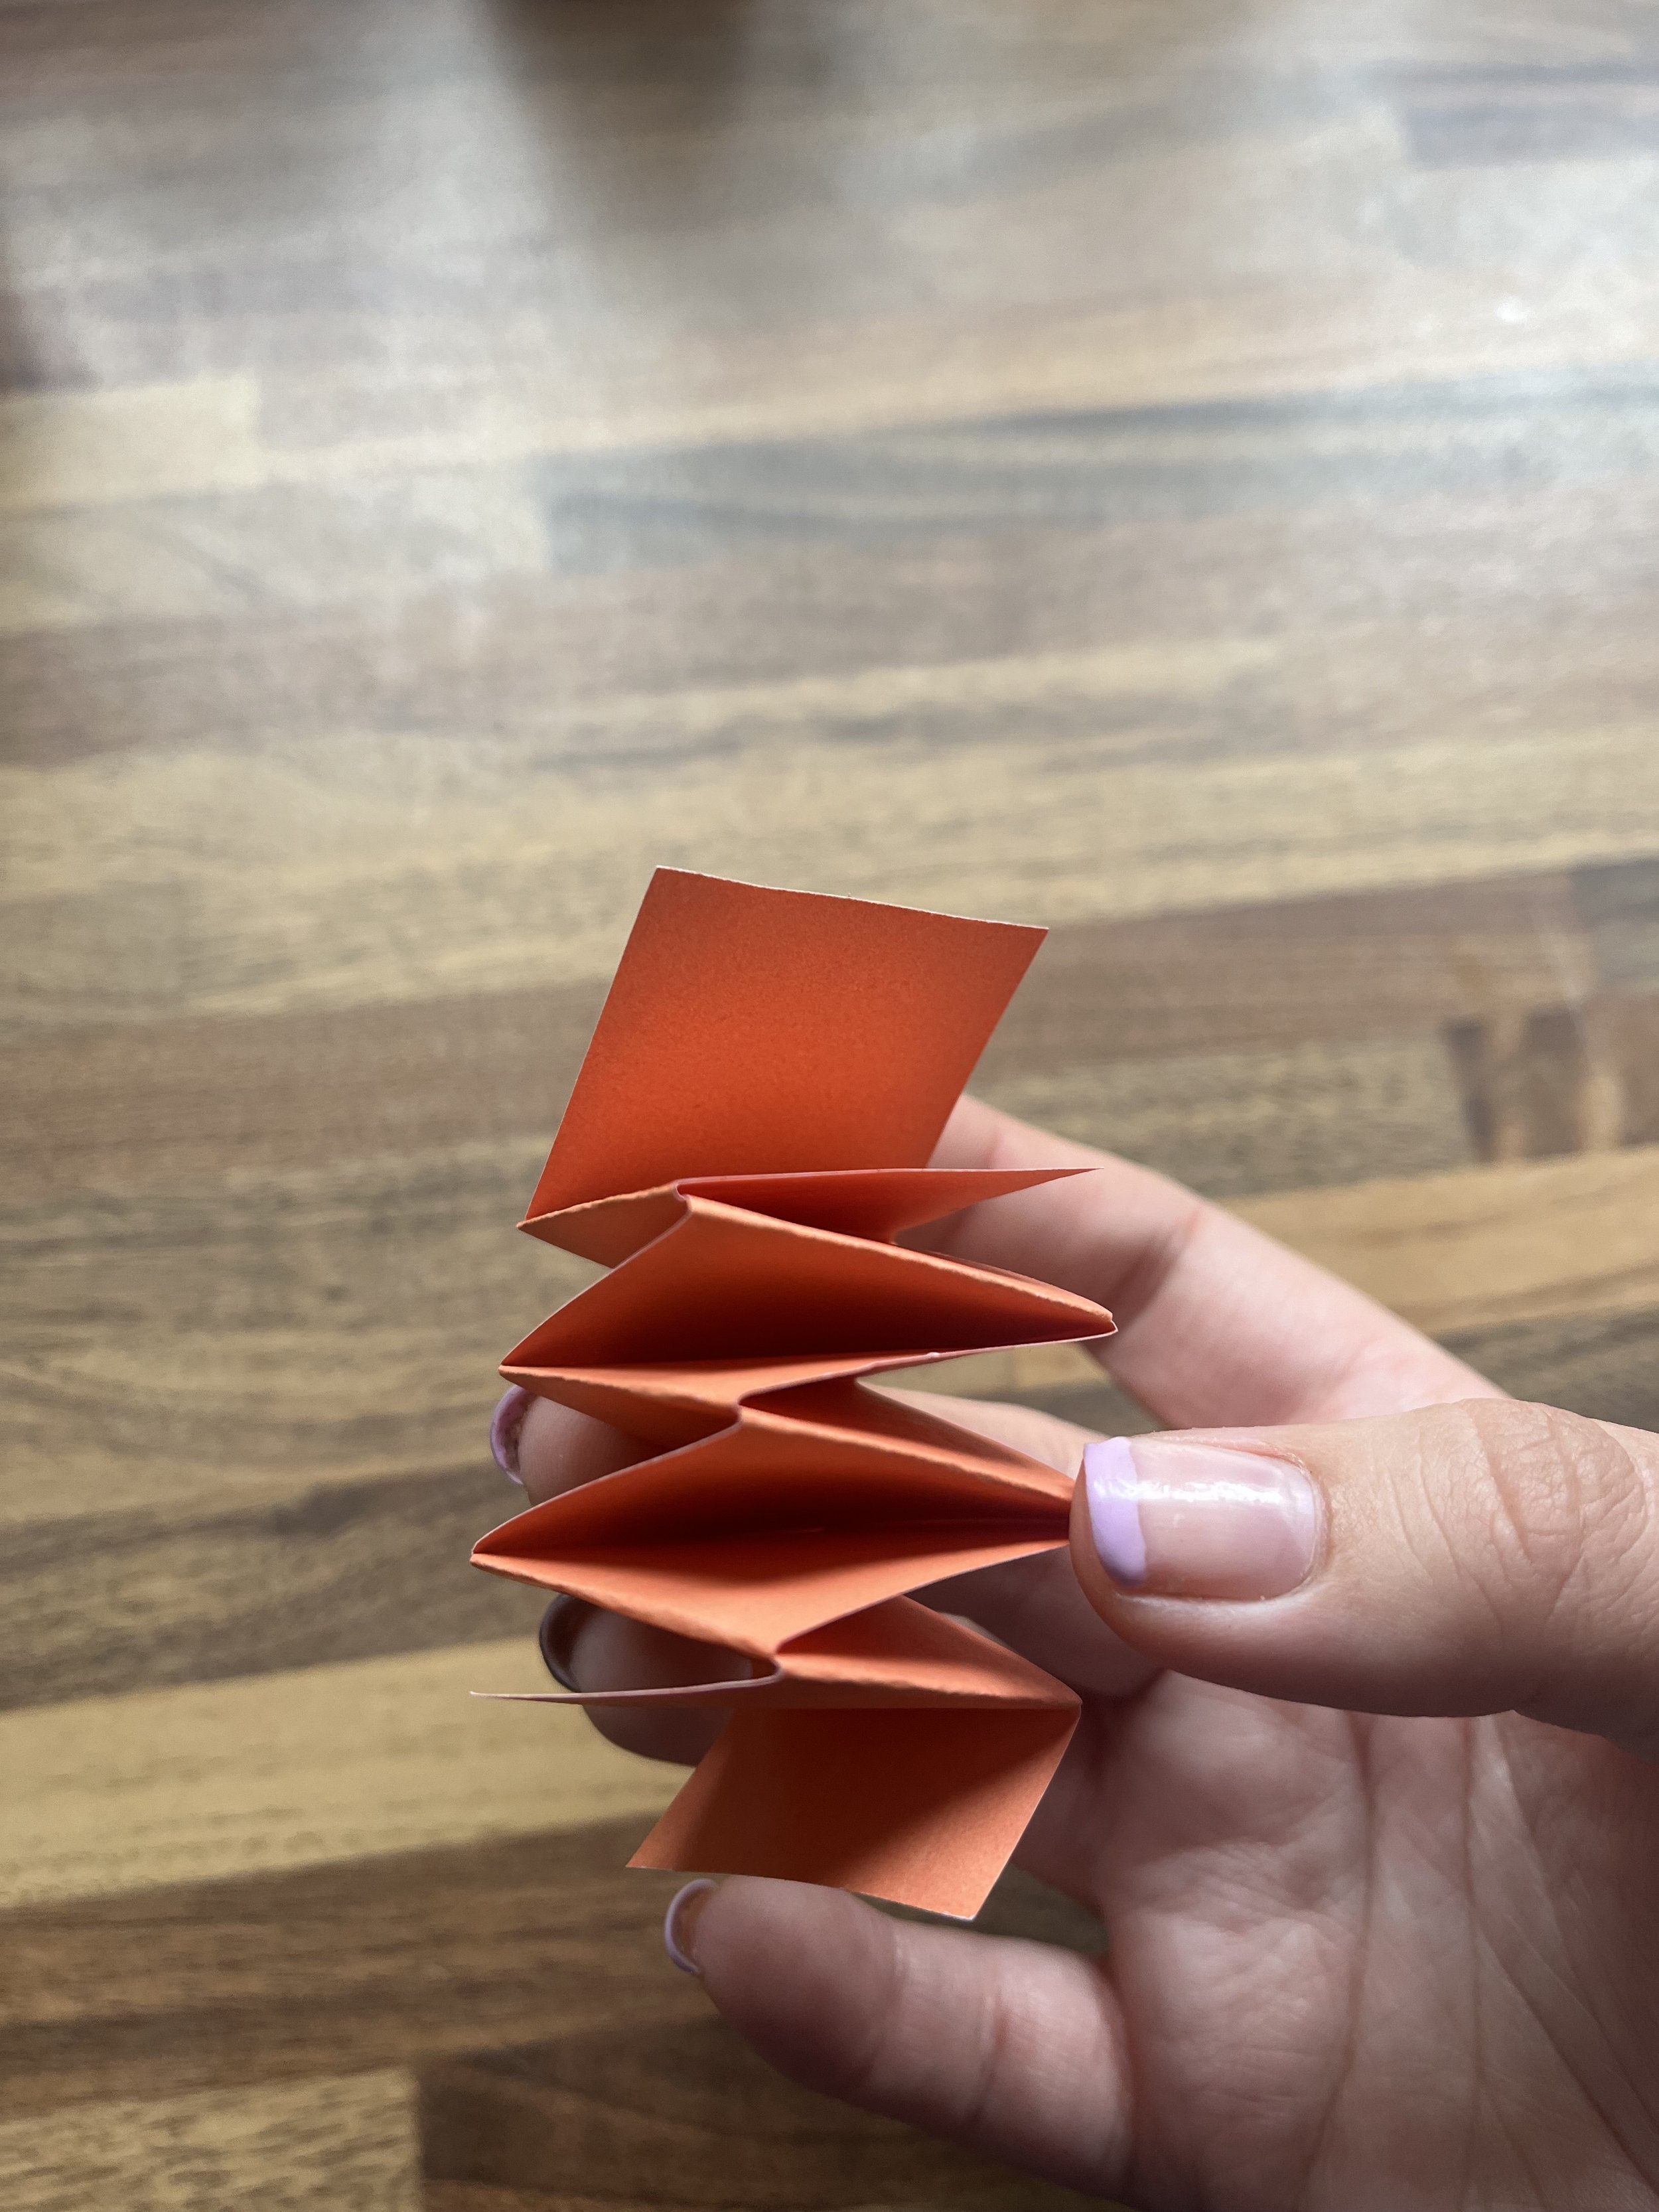
Step 3 - Take your piece of card and cut two 1 inch strips along the width of the card. Then take the strips and line them up in a v shape with the ends meeting. (see picture below) You then need to take the underneath piece and fold it over the top piece. Continue to do this until all the card is folded into a springy square.
Step 4 - Glue the spring on the top of the bottom cup.
Step 5 - It’s time to decorate the top cup. First glue the googly eyes, (if not using, draw on eyes instead) then draw the rest of the face. And finally add patterns and drawings to make your octopus as creative as you like.
Step 6 - The final step is to add your top cup onto your bottom cup. Gently place the cup on and do not push down, we want the spring to stay nice and spread so the octopus is as bouncy as possible.
And last but not least, our third craft is treasure maps.
This one is a great activity that can have a duel purpose. You and your little ones can have fun making and designing the map, then you can use the map to find something you’ve hidden.
Equipment/ supplies:
tea bag
hot water
paper or card
pens
pencil
themed stickers (optional)
Step 1 - (Either assist or do it for you little ones) Put tea bag in hot water and let stew for 30 seconds, before squeezing lightly, just to get the excess water out. Let cool slightly before allowing children to handle it.
Step 2 - take your cooled tea bag and dab it all over you paper, or card until the entire thing is brown and wet.
Step 3 -Leave to dry. This might take a little while, so to speed up the process, you can hand dry with a hair dryer. Remember to keep the hair dryer moving constantly to avoid any patch of paper getting to hot. And keep a hand on the opposite end of the paper to where you are drying so the paper doesn’t blow away.
Step 4 - Once dry, it’s time to add some more character. This is the time to add any rips around the edges, or you can burn some of it (adult job) or you can even go again with the tea bag to add some darker patches to make it look more aged. (if you do this, you will have to dry it again before the next step.)
Step 5 - Next, use your pencil to lightly and roughly draw your land mass. If you cant decide on how to draw it you can get a handful of rice and gently drop it onto the paper. Then you draw around the scattered rice to make your main land mass and any little groups to make islands. Once you are happy with your land, go over this in pen. (You can also add a border, like shown in first photo, if you want to.)
Step 6 - Pick your starting place, and pick your ending. Then just have fun with drawing the dotted lines that lead to your treasure. You can mark the way with small lines like i did, or dots, or footprints.
Step 7 - Pick a name. Once you’ve decided, choose a place for it on you map so everyone knows what your island or land mass is called.
Step 8 - Add any additional decorations. I have drawn some trees, a pond, mountains, and a boat. I have also added some little wavy lines around the islands to show the water. And I have added a few stickers, one being an x to make where the treasure is hidden. This doesn’t have to be with a sticker though, it can also be drawn on.
Now you are ready to set sail on your pirate ship, with your map to find the lost treasure and you might even encounter an octopus or two.
Have fun crafting! At the bottom of this page is a download of some ocean themed, free, colouring sheets for your little ones, or yourself, to have fun with.


